Blog Tagline

Blog Tagline
Showing posts with label regular. Show all posts

5/15/14

Jolly Amigurumi Poo Goes Abroad!

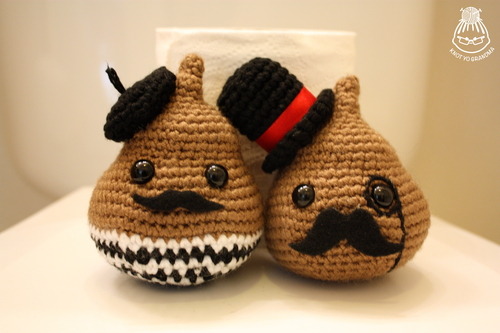
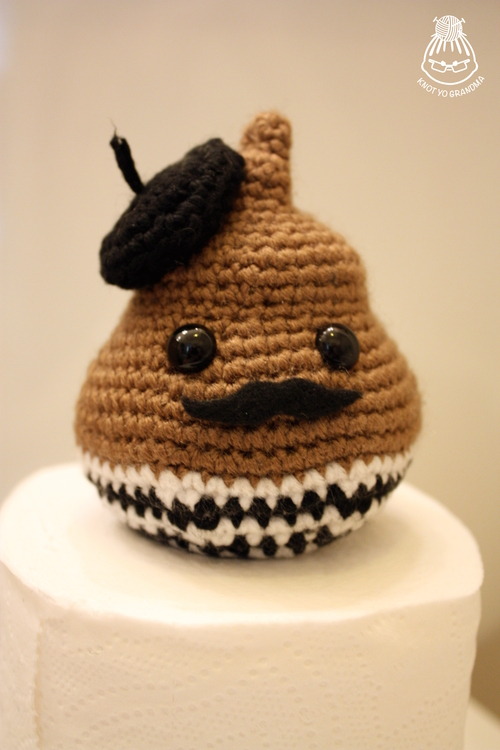
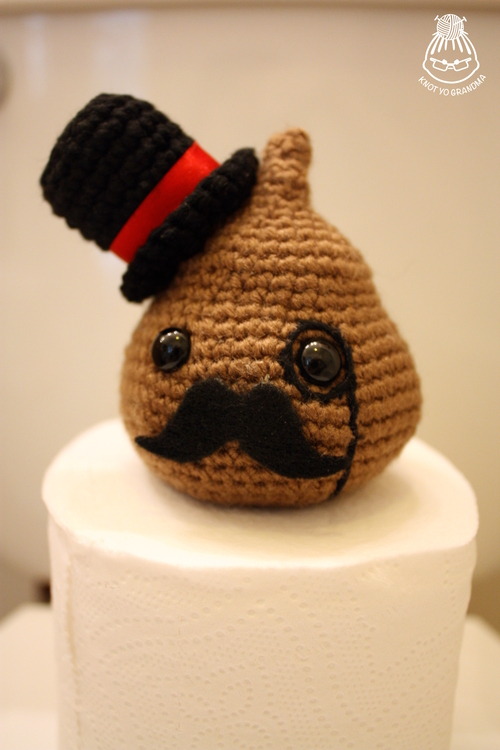
Remember my Jolly Amigurumi Poo from this post?  He’d like me to introduce his European cousins, Monsieur Poo of Paris and Sir Poo of London!

image

In honor of our upcoming trip to England and France, I thought it would be fitting to branch out in the area of poo-related crochet and craft these charming fellows to accompany us. I used the same pattern as the original Jolly Amigurumi Poo and then had some fun accessorizing.  Monsieur Poo’s striped shirt was made by alternating rows of white and black worsted weight yarn from row 22 to the end of the pattern.  This gave me a chance to practice the tapestry method of crochet, where you carry along whatever color you’re not using and crochet your stitches right over it.  So much easier than weaving in a gajillion ends like you would with normal color changes!

I was not able to find a pattern for a tiny beret, so I made one up (scroll to the end of this post if you’d like to try it.  You know, in case you ever need to crochet a beret for a rodent).  Sir Poo’s top hat was crocheted using this pattern and then I hot glue-gunned the red ribbon around the brim.  His monocle was embroidered using black embroidery floss.  Both of their mustaches were cut out of black felt and were then glued to their poopy little faces.

Aren’t the EuroPoos dapper little fellows?

image


image

Miniscule Beret Pattern

SC 6 sts into a Magic Circle
R1: Inc in each st (12)
R2: *Inc, SC* rep x 6 (18)
R3: *Inc, 2 SC* rep x 6 (24)
R4: (Back loops only) *Dec, 2 SC* rep x 6 (18)
Finish off and leave a long enough tail to weave in and then poke the rest through the middle of the magic circle to create the beret’s little antenna.


These Jolly Poos are off to pose with some famous monuments.  Stay tuned for the post-trip photo post and make sure to follow the Jolly EuroPoo adventures on the brand new Knotyograndma Instagram

4/21/14

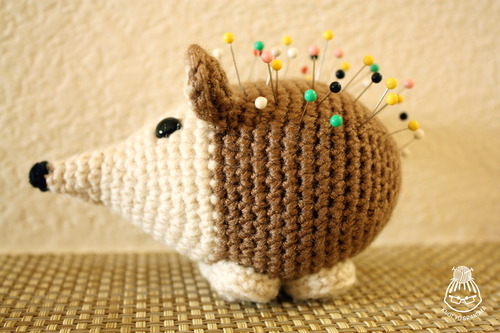
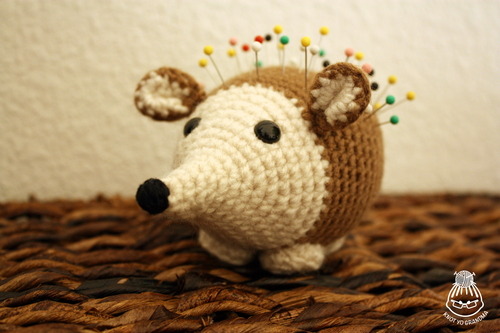
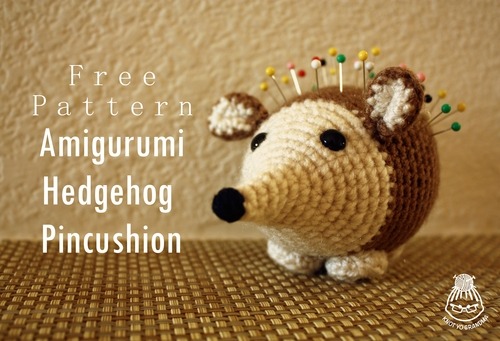
Amigurumi Hedgehog Pincushion Pattern

Never again suffer the indignity of a jab in the hindquarters from a wayward pin!

image


Materials
Acrylic worsted weight yarn in two shades of brown (one light, one dark)
Size F crochet hook
Size E crochet hook
2 9mm safety eyes
Yarn needle
Black embroidery thread
Embroidery needle
Poly-Fil stuffing (or equivalent)


Things to Know


This is an original pattern by Robyn of Knot Yo Grandma. It has been provided at no charge and cannot be sold or redistributed. Please do not claim this pattern as your own. When referencing this pattern, please link back to this post.


This pattern is worked entirely in the round with single crochet stitches using increases and decreases.  Do not join rounds—continue working in a spiral. Use a stitch marker to mark the last stitch of each row. The number in parenthesis at the end of each line in the pattern represents the number of completed stitches in each round. 


CH= Chain
SC= US Single Crochet (UK Double Crochet)
SC BLO= Single Crochet in back loops only
Inc=Increase (2 stitches in 1 stitch)
Dec=Decrease
st= Stitch(es)
rep= follow instructions within *stars* this many times in a single round


Body Pattern


Begin with light brown yarn, use size F hook.


Begin with 3 SC into Magic Circle (3)
R1: Inc in next SC, SC in next 2 SC (4)
R2: *Inc, SC in next st* rep x 2 (6)
R3: *Inc, SC in next st* rep x 3 (9)
R4: SC in each st around (9)
R5: SC in each st around (9)
R6: *Inc, SC in next 2 st* rep x 3 (12)
R7: *Inc, SC in next 3 st* rep x 3 (15)
R8: *Inc, SC in next 4 st* rep x 3 (18)
R9: *Inc, SC in next 5 st* rep x 3 (21)
R10: *Inc, SC in next 6 st* rep x 3 (24)
R11: *Inc, SC in next 7 st* rep x 3 (27)
R12: *Inc, SC in next 8 st* rep x 3 (30)
R13: *Inc, SC in next 9 st* rep x 3 (33)
R14: *Inc, SC in next 10 st* rep x 3 (36)


Change working yarn color to the darker brown


R15: *Inc, SC in next 11 st* rep x 3 (39)


Place safety eyes and snap washer backs into place.  Embroider nose at the tip of the cone using black embroidery thread.


R16: *Inc, SC in next 12 st* rep x 3 (42)
R17: *Inc, SC in next 13 st* rep x 3 (45)
R18: *Inc, Sc in next 14 st* rep x 3 (48)
R19 through R24: SC in each st around (48)
R25: *Dec, SC in next 6 st* rep x 6 (42)
R26: *Dec, SC in next 5 st* rep x 6 (36)
R27: *Dec, SC in next 4 st* rep x 6 (30)
R28: *Dec, SC in next 3 st* rep x 6 (24)


Start stuffing body


R29: SC in each st around (24)
R30: *Dec, SC in next 2 st* rep x 6 (18)
R31: SC in each st around (18)
R32: *Dec, SC in next st* rep x 6 (12)
R33: Dec in each st around (6)


Sew the hole closed and hide the yarn tail in the body.


Ear Pattern (Make 2)


Begin with light brown yarn, use size E hook.


Begin with 6 SC in Magic Circle
R1: Inc in each SC (12)
Finish off to complete first half of ear


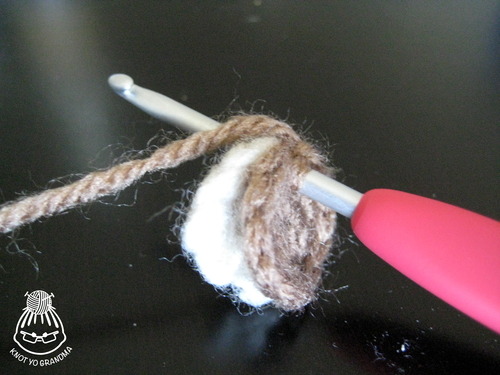
Repeat above instructions using dark brown yarn, but do not finish off.  Once both halves are completed, match the light brown and dark brown pieces together with right sides facing out.  Hide any yarn tails between the two pieces.  Once the two halves are matched, SC through BOTH layers in each st around with the dark brown yarn.  Finish off and leave a long tail.  Pinch the bottom of the ear together and sew a few stitches using the tail to keep the bottom pinched.  Sew the ears onto the body using the rest of the tail.


Feet (Make 4)


Use light brown yarn and E hook.
Begin with 6 SC in Magic Circle
R1: Inc in each SC (12)
R2: SC BLO in each st (12)


Fasten off and leave a long tail for sewing.


Pin the feet to the bottom of the body.  Make sure the hedgehog can stand upright while the feet are pinned, and then sew the feet to the body.


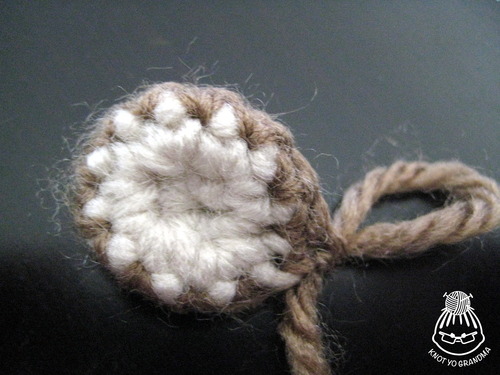
Since the instructions for the ears are a little confusing, below is a picture of how the two halves should be put together and both layers should be stitched through:

image


It should look like this after the final round of single crochet:

image


That’s it, your hedgehog is done!


image


image


Now have fun stabbing him.


4/19/14

Amigurumi Hedgehog Pincushion

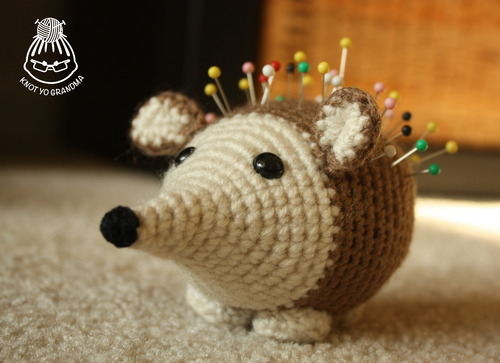
Introducing my newest amigurumi critter design: Hedgehog Pincushion!


Now Michael can stop giving me those alarmed looks whenever I leave my pins in the arm of the couch.


Pattern and tutorial post coming soon!

4/8/14

Bernat Pipsqueak Yarn: Soft, Duplicitous Balls of Evil

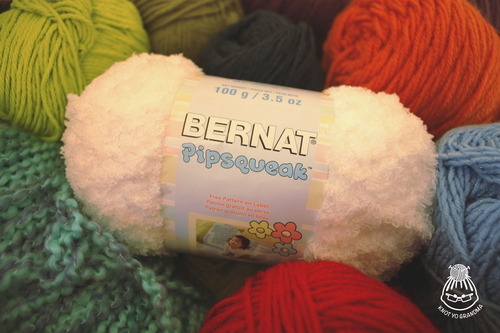
Let’s talk for a second about how Bernat Pipsqueak yarn was clearly conceived by Satan.


image


I saw it at Michael’s and couldn’t resist.  So snuggly! So magically soft! So perfect for my next amigurumi project!


Alas. 


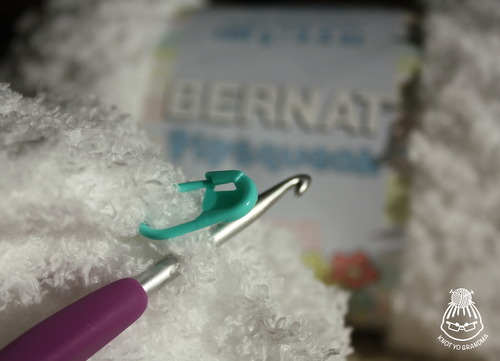
The minor downside?  Once you make your stitches YOU WILL NEVER SEE THEM AGAIN.


image


How many single crochets are in the above amigurumi carcass?  Your guess is as good as mine.  It’s impossible to see any stitches once you make them and, even worse, its impossible to tell what hole you’re crocheting into.  If you’re going to use this yarn you had better be really great at counting without starting over because you will definitely never find your place again.  Also hope that you don’t let your hook slip out of the loop, because it will take you at least 13 minutes to get it back where it’s supposed to be.


Also- it sheds.  A lot.  I hope you like the couch/chair/throne you crochet in, because you’ll be picking bits of Pipsqueak yarn out of it for at least 3 months.


Despite my hatred of this beastly substance, I haven’t scrapped my project. IT’S JUST TOO SOFT.  New amigurumi creature & pattern to come!


Ah Bernat Pipsqueak- Once a magical ball of promise, now a duplicitous pile of sheddings in my dust buster.


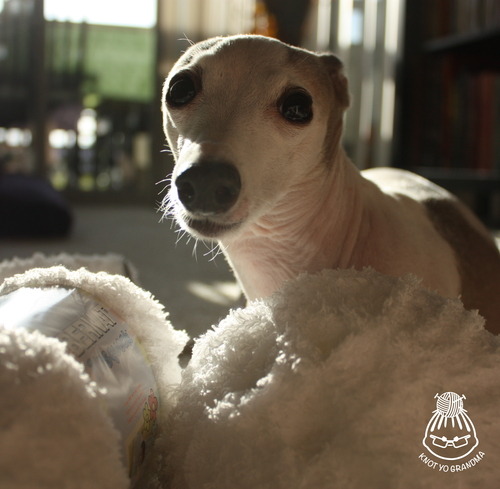
PS. There IS one being who likes it.  I guess it’s too much to ask a bald Italian Greyhound not to snuggle a pile of yarn that feels like an effing cloud.


image


4/5/14

Jolly Amigurumi Poo Pattern

What’s that? You’ve always wanted to crochet your very own smiling piece of crap?  WELL NOW YOU CAN. 


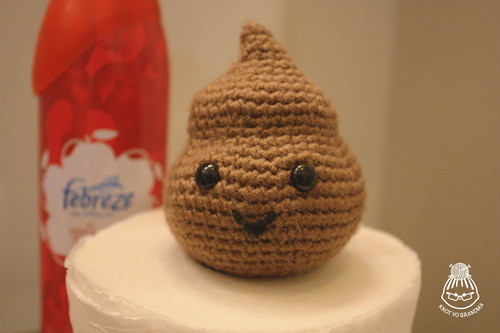
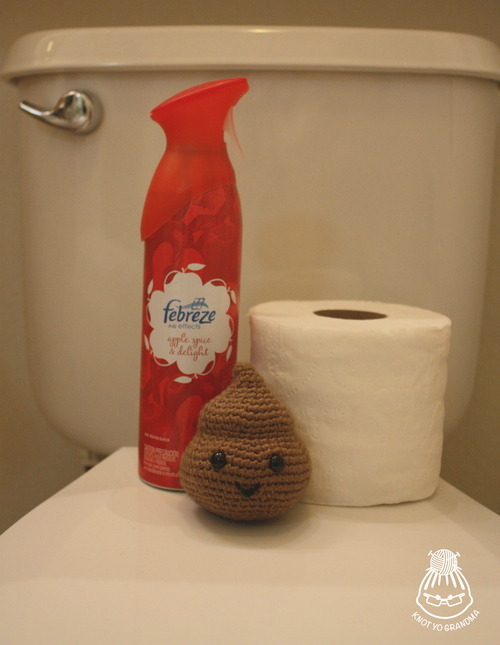
image


I found myself needing an amigurumi poop, but there is a mysterious (or not) lack of cute poop patterns floating around the internet.  Thus, my original pattern for Jolly Poo was born.  I share it with you now so that the internet can finally become a reliable source for feces-related crochet.


Materials
Acrylic worsted weight yarn (in any of varying shades of brown depending on your digestive regularity and/or diet)
Size F crochet hook
2 9mm safety eyes
Black embroidery thread
Yarn needle
Embroidery needle
Poly-Fil stuffing (or equivalent)


Things to Know


This is an original pattern by Robyn of Knot Yo Grandma. It has been provided at no charge and cannot be sold or redistributed. Please do not claim this pattern as your own. When referencing this pattern, please link back to this post.

This pattern is worked entirely in the round with single crochet stitches using increases and decreases.   Do not join rounds—continue working in a spiral.  Use a stitch marker to mark the last stitch of each row.


CH= Chain
SC= US Single Crochet (UK Double Crochet)
Inc=Increase (2 stitches in 1 stitch)
Dec=Decrease
st= Stitch(es)
rep= Repeat instructions within *stars*


Pattern


R1: 6 SC into Magic Circle OR CH 2 and stitch 6 SC in 2nd CH from hook
R2-3: 1 SC in each st around (6)
R4: Inc in each SC (12)
R5-6: 1 SC in each st around (12)
R7: *Inc in next SC,  SC in next st* rep x6 (18)
R8: SC in each st around (18)
R9: *Inc in next SC, SC in next 2 st* rep x6 (24)
R10: *Inc in next SC, SC in next 3 st* rep x6 (30)
R11: *Inc in next SC, SC in next 4 st* rep x6 (36)
R12: 1 SC in each st around (36)
R13: *Dec, SC in next 4 st* rep x6 (30)
R14: 1 SC in each st around (30)
R15: *Inc in next SC, SC in next 4 st* rep x6 (36)
R16: *Inc in next SC, SC in next 5 st* rep x6 (42)
R17: *Inc in next SC, SC in next 6 st* rep x6 (48)
R18: *Inc in next SC, SC in next 7 st* rep x6 (54)
R19-21: SC in each st around (54)
R22: *Dec, SC in next 7 st* rep x6 (48)
R23: *Dec, SC in next 6 st* rep x6 (42)
R24: *Dec, SC in next 5 st* rep x6 (36)
R25: *Dec, SC in next 4 st* rep x6 (30)
R26: *Dec, SC in next 3 st* rep x6 (24)
Place safety eyes and clip backings into place.  Start stuffing.
R27: *Dec, SC in next 2 st* rep x6 (18)
R28: *Dec, SC in next st* rep x6 (12)
R29: Dec x 6 (6)


If there is still a small hole, sew it shut.  Fasten off and hide the yarn end in the poop. Embroider the mouth.


Now you have a happy little lump of waste to keep you company.  I’ve noticed that a lot of amigurumi patterns have instructions that say “embroider the nose” or “stitch on the mouth,” but the explanation pretty much ends there.  If you’re new to amigurumi-making and aren’t sure exactly what embroidery entails, here’s a great video tutorial.


If anybody uses the pattern, (doubtful, as the end result is stuffed feces…) do share!  If you mention the pattern anywhere (also doubtful), please remember to link back to my original post. 


image


Jolly Poo bids you adieu.

4/2/14

Amigurumi Panda: Fat Heads & First Posts

First thing’s first: Herro premier blog post!


And now, on to more important items.


Michael has been after me for quite a while to crochet someone to keep him company on his desk at work, but with the influx of new friend/family offspring born in 2013 (a very fertile year), I really haven’t had time.  I finally got a break from the baby showers, so I trolled the internet for the perfect cubicle companion and found the pattern for Baby Panda & Lucky Bamboo by Josephine Wu of amorningcupofjo


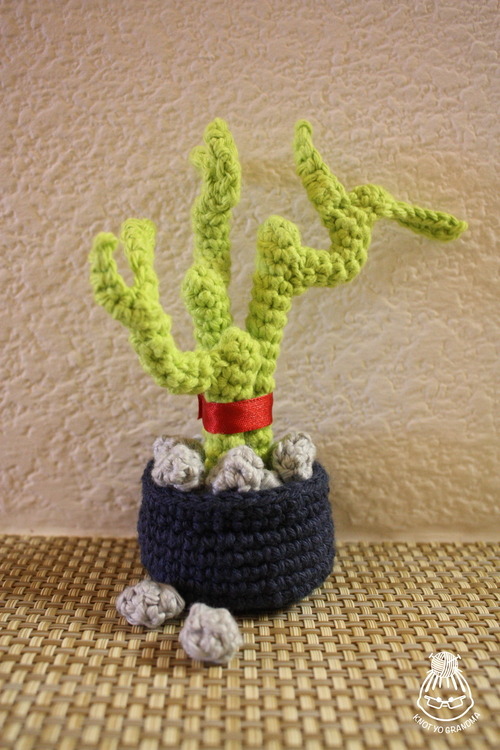
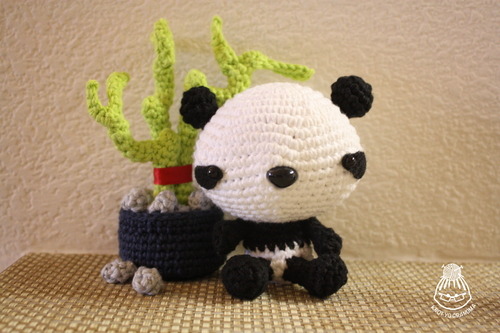
As soon as I saw it I knew this was The One.  In fact, this fellow is so cute that I deemed him worthy of my very first Knot Yo Grandma blog post.  Not only did this pattern have a giant-headed panda with a tiny adorable panda tail for its tiny adorable panda butt, but it also came with a pattern for the panda’s very own dinner/bamboo!  Bamboo plants are very lucky in Asian cultures, and Michael had actually been wanting one for the office anyway.  I was pleased to provide him with one that is unkillable.


The pattern was impressively detailed and contained a lot of photos.  You can find it here.


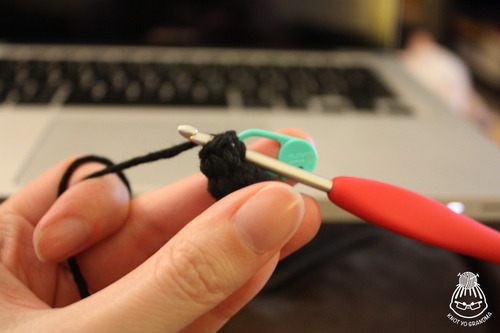
Like all amigurumi, Fat-Headed Panda was crocheted in the round with super tight single crochets.  Tight stitches were particularly important for this project because of the black yarn- white stuffing poking through black yarn is, simply put, fugly.  Black yarn in general actually just sucks, I just haven’t worked with it much before so I never realized.  Look at the below photo- can you count those black stitches?  Yeah, neither could I.


image


image


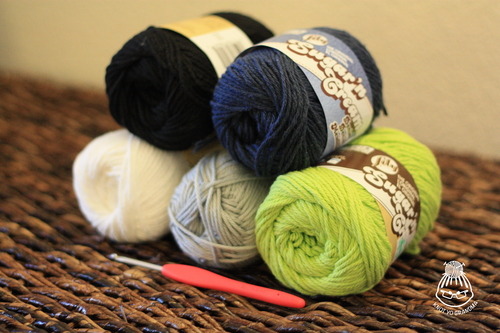
I went with the pattern’s recommended Lily Sugar’n Cream cotton worsted weight yarn (except for the grey- that was Hobby Lobby I Love This Cotton).   I’m used to working with acrylic yarn, so this rough cotton stuff really hurt my fingers.  However, it does come in some really great, bright colors and it’s relatively inexpensive, so I wouldn’t rule out using it again after my finger wounds scab over.


image


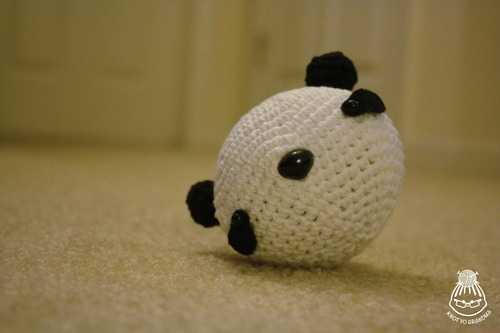
I was disproportionately excited to complete the cabesa and was tempted to give Michael a lone, fat panda head instead of the whole critter.  I refrained.


image


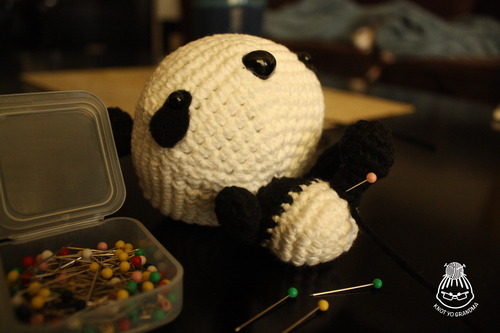
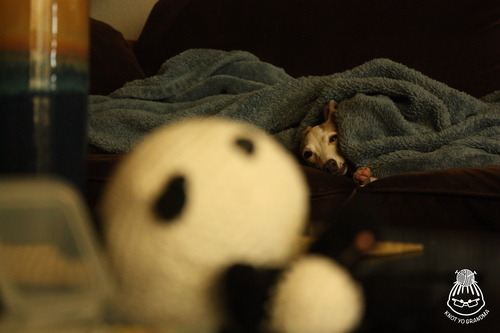
Pinning and sewing this fellow together was actually kind of difficult- his body and limbs are tiny! Most of the amigurumi I’ve made in the past have been pretty big, at least 8” or taller.  You might notice someone lurking in the blurred background of the above photo. 


He is basically only good for napping, whining, and staring.


image


My excitement after finishing the panda head was nothing compared to my excitement after finishing the bamboo.  There MAY have been some cheating going on- the pattern called for 13 or so little rocks to fill up the entire planter.  I finished about 7 before I had an eff-this moment and filled the vase up with grey scrap yarn instead.  I put the 7 rocks on top and VOILA you cannot tell I didn’t spend 2 hours hand making a vaseful of rocks.


image


Aren’t they the perfect cubicle mates?


image